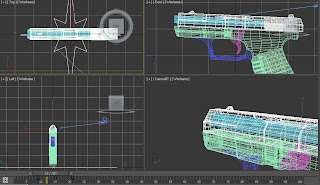
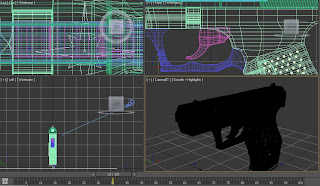
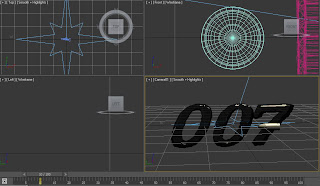
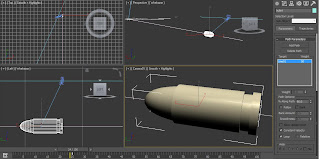
The next three scenes consist shooting the bullet, bullet flying by 007 text and zoom in of the bullet. The last two scene in final animation actually looks like one. The actual trailer use different scenes that I made at first attempt. I rendered them, but also wanted to try different camera views. It turned out that i did not save previous files and overwrite new scenes over the old ones. I did not use anything fancy for the old scenes. Actually they are similar to the new ones by the use of techniques.
First scene:
scene in animation has gun shooting the bullet and then camera target is moved from gun to the bullet and camera moves out to hide the gun. The scene that i have but have not used in animation is the same. The difference is that camera instead focusing on bullet after shot turns around and show gun from the front.
The animation was done using autokey and moving top part of the gun, the bullet, camera and camera target. I also rotated whole gun for short amount of time to strengthen the feeling of bullet being shot.


Second scene:
The "oo7" text was made same as text in first scene.
The scene that I have has bullet flying in from one corner and then flying out to the opposite frame side. Bullet was animated with autokey on and camera was rotated with autokey on as well. The actual scene that I used have camera and target following the bullet to the left after it appears on the frame.

Third scene:
Is actually longer, but I used it only for bullet zoom in in the actual trailer.
Here I tried different approach. I created ti lines. One is for camera and second one for bullet and camera target. I constrained objects to the lines using path constrain. Then I selected keyframes that were created after this and dragged them to the frame were I wanted my animation to end. With camera selected I changed where camera is on the path at beginning and end keyframes by going to motion panel and changing %Along Path parameter.

Something that would be worth mentioning that my gun and bullet has some kind of noise and gradient look. The materials do not actually look as indented. My thought that this was caused by the environment rendering properties. Turning of daylight system did not removed the effect. Later i tried to mess with some options and it seemed that exposure control setting had impact on the materials. Well in trailer it still looks fine. Need to be aware of this in the future.
First image with "mr photographic exposure control" as in my animations. Second image with no exposure control


No comments:
Post a Comment